How to iron a shirt in the right order
In this guide
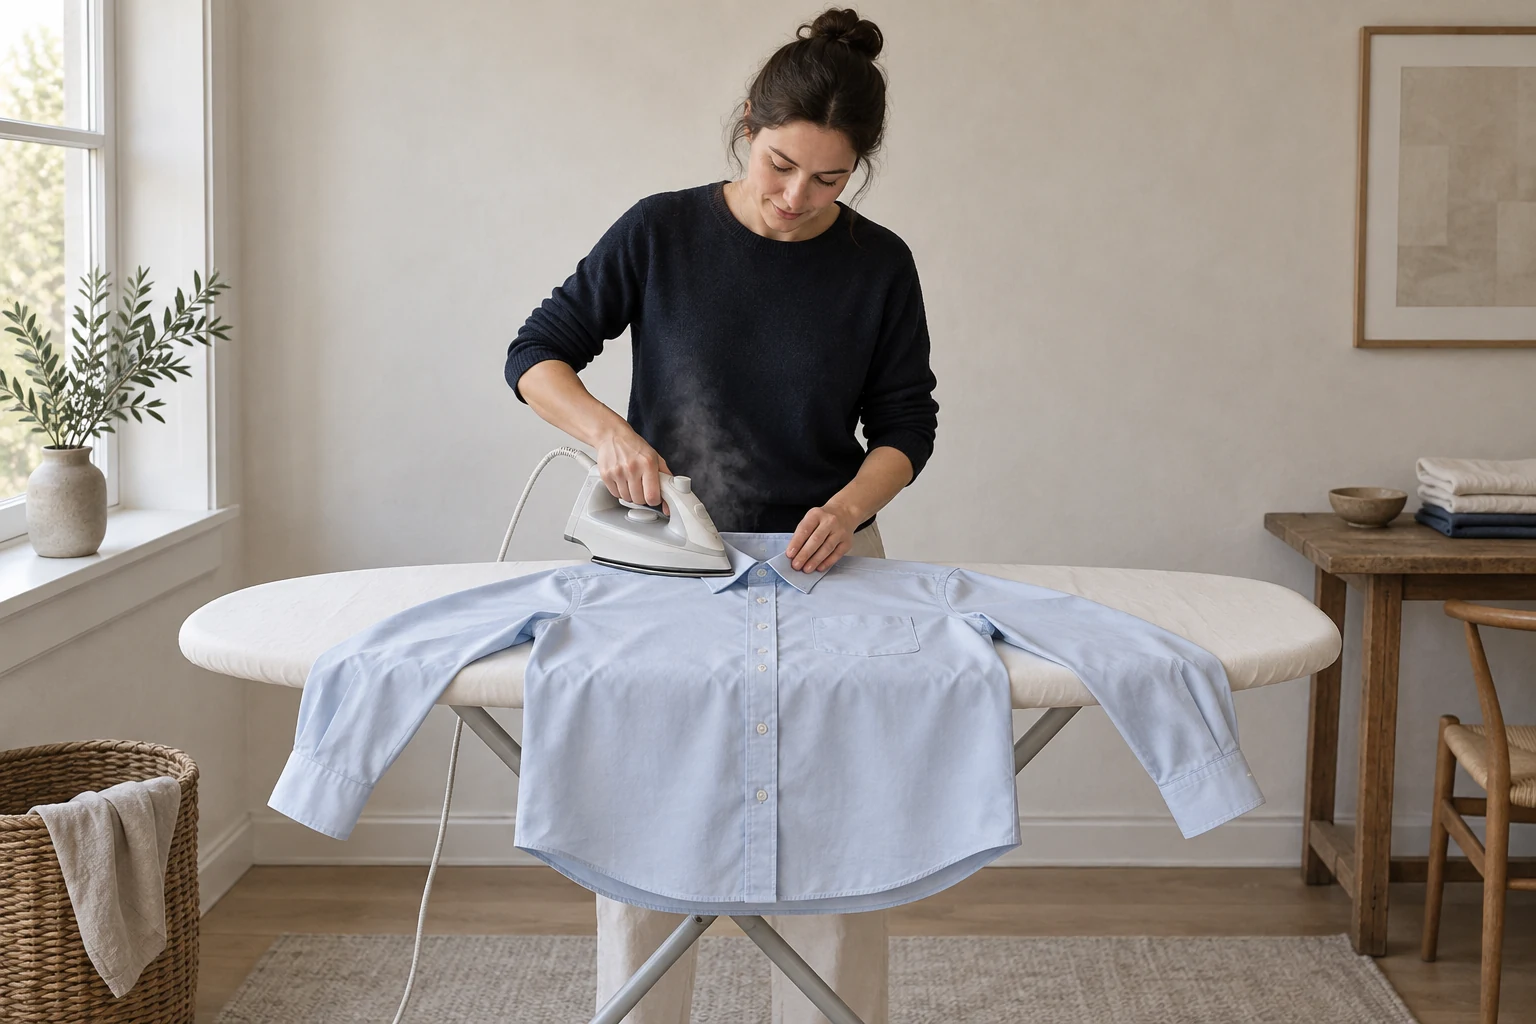
It is ten minutes before you need to leave, the good shirt is crumpled from the dryer, and the ironing board is already squeaking open. Ironing a shirt well is less about talent than about order: if you do the small, fiddly parts first and the big flat panels last, you are not wrinkling one part while you press another. Once you know how to iron a shirt in that order, a cotton dress shirt takes five to eight minutes.
The other half of the job is heat and moisture. Cotton and linen fibers relax when they are warm and damp and set in whatever shape they cool in, which is why a slightly damp shirt irons faster and why a shirt left bunched while still warm wrinkles again.
Set the iron for the fabric
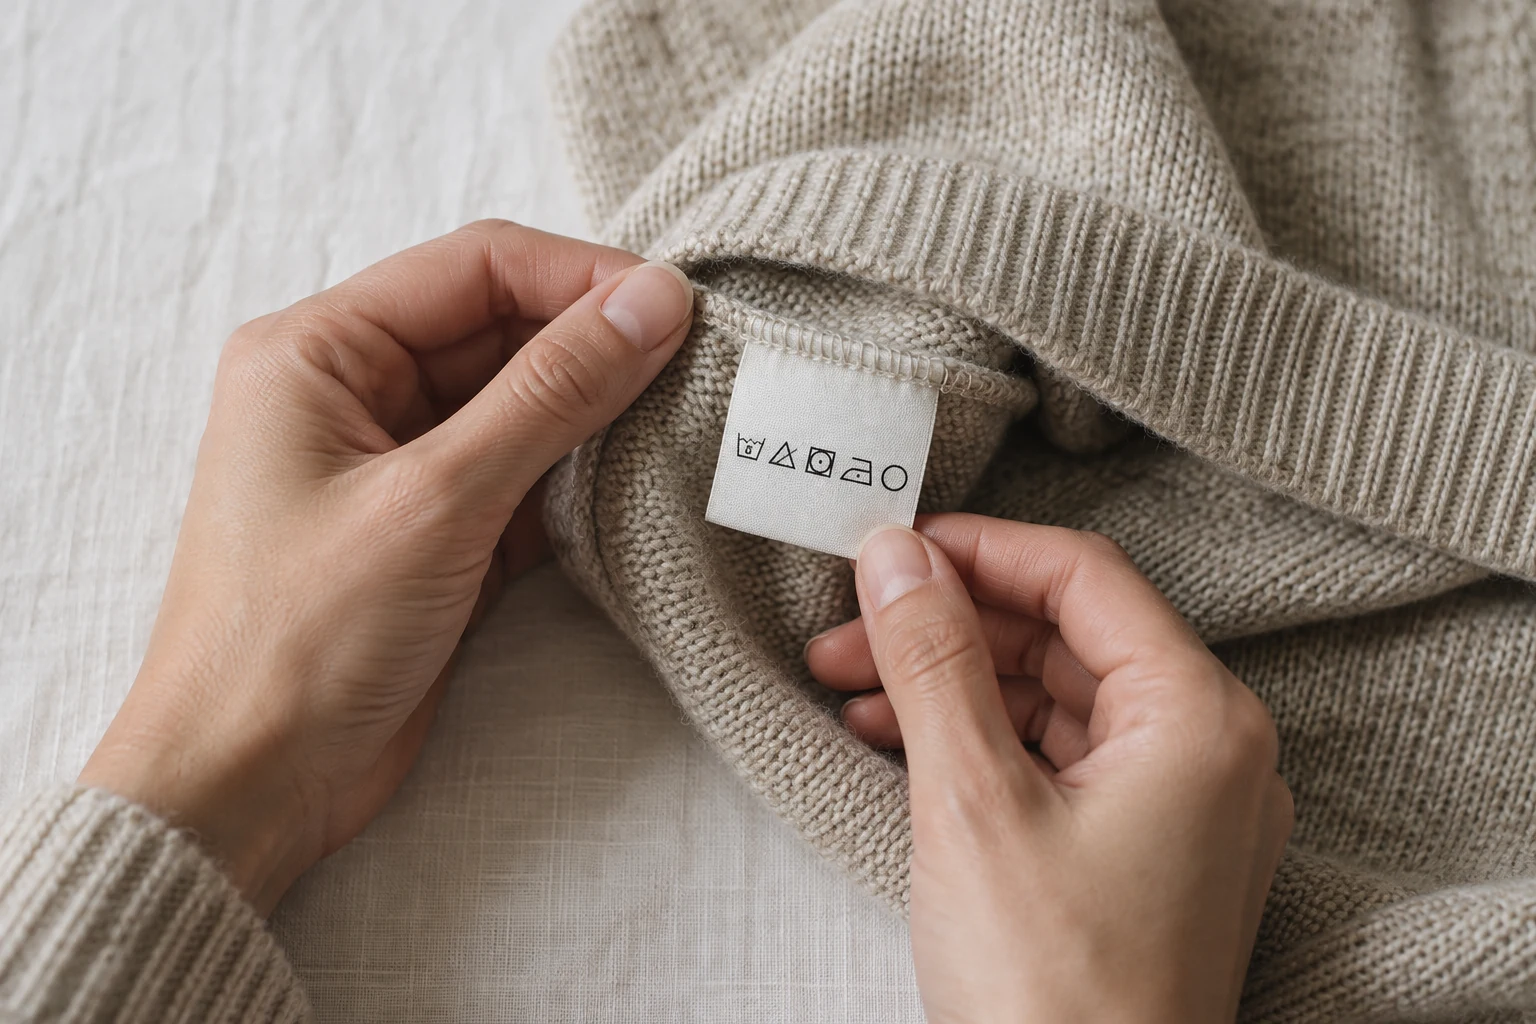
Check the care label before you plug in the iron. The iron symbol carries dots that set a maximum soleplate temperature. On the current chart from GINETEX, the international care labeling association, one dot means up to 248°F (120°C), two dots up to 320°F (160°C), and three dots up to 410°F (210°C), the cotton and linen setting. Older charts, including the American one, give slightly lower figures of 110, 150 and 200°C (230, 300 and 390°F), but the dots on your iron's dial match the dots on the label either way. A crossed out iron means no ironing at all. If you are unsure what a mark means, our guide to reading care labels explains each symbol.
In practice, pure cotton and linen shirts take the high setting, while cotton and polyester blends and many wrinkle resistant finishes do better on a medium setting, which is why some cotton shirt labels show two dots. Silk and synthetic shirts need the low setting. When in doubt, start lower and test on the inside of the shirttail, then turn it up. GINETEX also advises ironing dark, shiny or pressure sensitive fabrics inside out or under a press cloth, which prevents the shiny marks a hot soleplate can leave on dark cotton and linen.
| Label dots | Maximum heat | Typical shirts |
|---|---|---|
| One dot | Up to 248°F (120°C) | Silk and synthetics |
| Two dots | Up to 320°F (160°C) | Cotton and polyester blends, wrinkle resistant finishes |
| Three dots | Up to 410°F (210°C) | Pure cotton and linen |
| Crossed out iron | No ironing | Steam or hang instead |
Older charts give slightly lower figures, but the dots on your iron match the dots on the label either way.
Start with a slightly damp shirt
A shirt that is just damp, not wet, irons more easily and with less heat. The Laundress suggests taking cotton and linen out of the dryer while still slightly damp for this reason, and Gentleman's Gazette notes that a damp shirt lets the heat reshape the cloth with less risk of damage. If your shirt is already dry, mist it evenly with a spray bottle, roll it up loosely and leave it in a plastic bag for 10 to 15 minutes so the moisture spreads.
Steam helps too, but it is not a substitute for dampness on a very dry, heavily creased shirt. Fill the iron as its manual directs, including whether it wants tap or distilled water. Keep a spray bottle nearby for stubborn creases, and give the collar a generous spray and half a minute to soak in before pressing, as Proper Cloth suggests.
How to iron a dress shirt, part by part
Shirt guides do not all agree on the exact order. Gentleman's Gazette starts with the cuffs and sleeves, Proper Cloth irons the back first, and The Laundress begins with the inside of the collar. The sequence below follows the most common logic, small double layered parts first and large flat panels last, and it works for any long sleeve button up shirt.
Collar
Remove any collar stays, unbutton the collar and lay it flat with the underside facing up. Press from each point toward the center, which pushes any small puckers toward the back of the neck where they are hidden, rather than into the points where they show. Flip it and repeat on the outside. Leave the fold line soft for now.
CheckYou should see a smooth, flat band with no ripples at the points.
Cuffs
Unbutton the cuffs and open them flat. Iron the inside, then the outside, working around the buttons rather than over them, since pressing over a button can crack or melt it. For French cuffs, press them open and flat, then fold them without pressing a hard crease into the fold.
Sleeves
Lay one sleeve flat along its seam, smooth it with your hand so both layers lie without folds, and iron from the shoulder toward the cuff, including the pleats where the sleeve meets the cuff. Whether you want a crease along the top of the sleeve is a matter of taste. Gentleman's Gazette avoids it by concentrating on the middle of the sleeve; a sleeve board or a rolled towel inside the sleeve removes the crease entirely. Repeat on the other sleeve.
Yoke and shoulders
Slide one shoulder over the narrow end of the board so the yoke, the panel across the upper back, lies flat. Press it, then shift the shirt to do the other shoulder. This curved area is hard to reach on the flat of the board, which is why Proper Cloth recommends the narrow end.
Back
Lay the back flat across the board and press from the yoke down to the hem, easing around any box pleat or side pleats rather than flattening them into new creases. You should now have a shirt with a finished top half and a smooth back.
Front panels
Finish with the fronts. Iron the buttonhole side first, then the button side, pressing between buttons with the tip of the iron. The placket is two or three layers thick, so press it firmly and, if it resists, a little more moisture helps. Iron the front panels last because they are what people see, and nothing else will be laid on them afterwards.
Hang it and let it cool
Put the shirt on a hanger as soon as you finish, with shoulders that match its width so it does not develop bumps. Gentleman's Gazette suggests buttoning the top two buttons so the collar keeps its shape, and now is the moment to fold the collar down along its natural line. Let the shirt cool for a few minutes before you wear it, because warm fabric still takes any crease you give it, including the creases from sitting down in the car.
Spray starch gives a crisper finish, though Gentleman's Gazette finds the effect mediocre and short lived. If you use it, spray lightly and give it a moment to soak in so it does not leave white flecks on dark fabric; dampness and heat alone do most of the work. If you iron several shirts at once, hang them with space between them so they do not crush each other while cooling. If a pressed shirt has to go into a drawer or a bag, our guide to folding a dress shirt keeps the front smooth.
Linen, dark shirts and quick fixes
Linen irons best when properly damp and on the highest setting its label allows; it will crease again the moment you wear it, which is part of its character, as our guide to washing linen explains. Dark cotton and linen are safest ironed inside out or under a thin cotton cloth to avoid shine. Printed or embroidered shirts should also be ironed from the reverse, on a towel, so the design keeps its texture.
If you have no iron or no time, a handheld steamer (see our guide to steaming clothes), a steamy bathroom or a quick tumble with a damp towel in the dryer can get a shirt presentable. None gives the crisp collar and placket of a proper press, but they will get you out the door; our guide to getting wrinkles out without an iron covers each method and when it works.
Common mistakes
Ironing a shirt that is not clean
Heat can set invisible body oils and stains, turning a faint collar line into a permanent yellow one. Only iron freshly washed shirts, and see our guide to washing white clothes if collars are already discolored.
Using too much heat
Too hot an iron can glaze synthetics and scorch cotton. A light scorch on a white cotton shirt sometimes fades with washing, but a brown, brittle patch is permanent; our guide to removing scorch marks explains how to tell the difference. Always test on the shirttail when you are unsure of the fabric.
Pressing hard creases where you do not want them
Ironing over a fold presses it in. Smooth each layer flat with your hand before the iron touches it, especially sleeves and the area under the collar, and move the fabric rather than forcing the iron into corners.
Questions people ask
What temperature should I iron a cotton shirt at?
Pure cotton usually takes the high setting, up to three dots on the care label. Cotton blends and wrinkle resistant shirts often call for a medium setting, two dots. Follow the dots on your shirt's label and test on the shirttail first.
How do I iron a shirt collar without creases?
Iron it flat and open, underside first, working from each point toward the center so any fullness ends up at the back of the neck. Only fold it down once the whole shirt is done and on a hanger.
Do non iron shirts need ironing?
Usually only a touch up. Non iron, wrinkle free and wrinkle resistant are different names for the same treatment: Orvis explains that the cotton is soaked in a resin that gives the fibers a memory for lying smooth. Take the shirt out of the dryer as soon as it stops and hang it straight away, then give the collar, cuffs and placket a quick press at the medium setting such labels usually ask for.
How do you iron pants?
Turn them inside out to press the pockets and waistband, then turn them right side out, lay one leg flat with the seams aligned and press from the top toward the hem. For a front crease, follow the existing line; for trousers without one, keep them flat and avoid creating a new crease. Use a press cloth on wool and dark fabrics.
Can I iron a shirt without an ironing board?
Yes. A thick towel folded on a sturdy table or countertop works, as long as the surface can take heat and moisture. Avoid ironing on a bed, which is too soft to give a crisp press.
Sources and further reading
References used for this guide. Each opens the original page in a new tab.
- GINETEX: care symbols, including ironing temperatures Opens in a new tab
- Proper Cloth: how to iron a dress shirt Opens in a new tab
- Gentleman's Gazette: how to iron a dress shirt Opens in a new tab
- The Laundress: how to iron dress shirts and pants Opens in a new tab
- Orvis: wrinkle free versus wrinkle resistant shirts Opens in a new tab
Keep reading
Washing and ironing
How to get wrinkles out without an iron
Five ways to get wrinkles out without an iron: a clothes steamer, shower steam, the dryer, a spray bottle and smart hanging, matched to the fabric you have.
Washing and ironing
How to wash linen, and does linen shrink?
How to wash linen shirts, pants and sheets: a gentle cycle, cool water and mild detergent, plus when linen shrinks, how to dry it and what to do about wrinkles.
Washing and ironing
How to wash white clothes and keep them white
How to wash white clothes: sort them, pick the right water temperature and detergent dose, use oxygen or chlorine bleach safely, and rescue whites that yellowed.
Washing and ironing
Laundry symbols explained: how to read a care label
What laundry symbols mean, in plain words: the wash tub, triangle, square, iron and circle, plus the dots, bars and crosses that change each instruction.
Ties and knots
How to wear cufflinks with a French cuff shirt
How to wear cufflinks: which shirts take them, how to fold and fasten a French cuff, kissing vs barrel style, cufflink types, and when to wear them with studs.