How to lace shoes: straight bar, criss cross and more
In this guide
New laces, a new pair of shoes, or a heel that keeps slipping out on the walk to work: most people learn how to lace shoes once as children and never think about it again until something goes wrong. Yet the path a lace takes through the eyelets changes how a shoe looks, how evenly it presses on your foot and how well it holds your heel. A few lacing styles cover nearly every situation.
The most thorough reference on the subject is Ian's Shoelace Site, run by Ian Fieggen, which documents dozens of lacing methods and knots with diagrams. This guide picks out the ones that matter for everyday dressing and explains when each makes sense. Throughout, left and right mean as you look down at your own shoe.
Before you start: count the eyelets
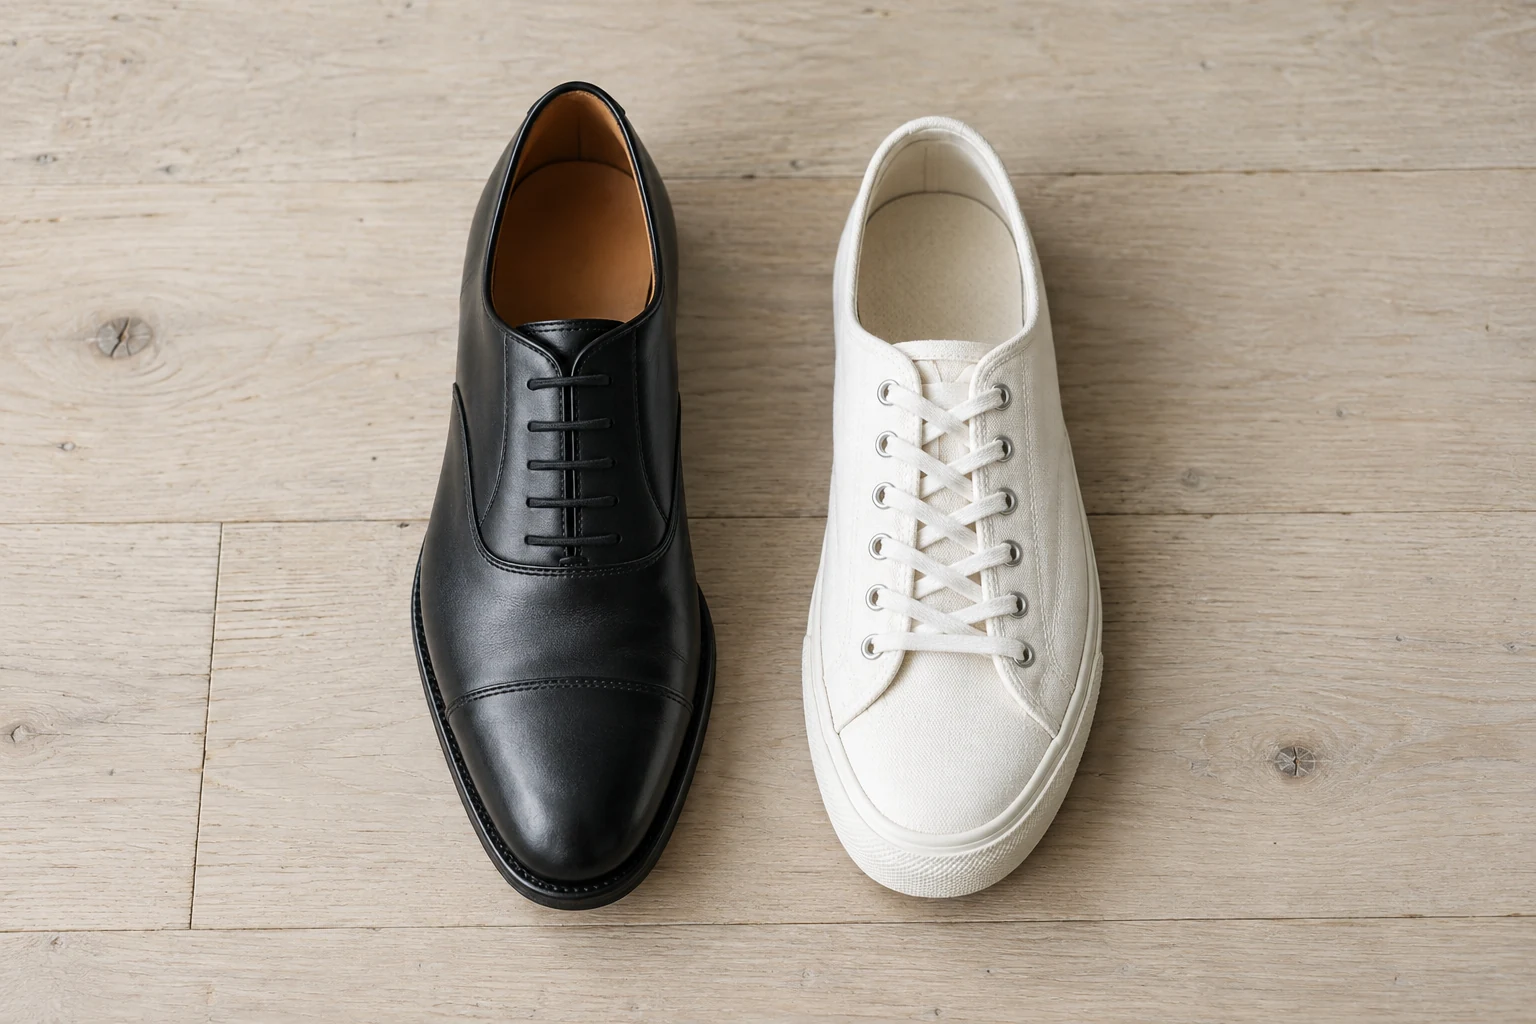
Count the pairs of eyelets, the holes facing each other across the opening. Most sneakers have five to seven pairs, and many dress shoes have four to six. The count matters mainly for straight bar lacing, which works neatly only with an even number of pairs. Check the lace length too: styles that run straight across, like bar lacing, use a little more lace than criss cross, so a lace that barely ties now will be too short after the change.
Keep the lace flat as you work. A twisted lace presses a ridge into the top of your foot and looks untidy through the eyelets. Pull each section snug before moving to the next pair rather than tightening everything at the end, which leaves the lower part loose and the top overtight.
Criss cross lacing for sneakers and everyday shoes
Criss cross is the standard method on most sneakers and casual shoes. Ian Fieggen notes that it is simple, traditional and comfortable, partly because the crossings sit in the gap between the two sides of the shoe rather than pressing on the top of your foot.
Start straight across the bottom
Run the lace straight across the bottom pair of eyelets on the inside of the shoe, so both ends come up through the bottom eyelets from underneath. Even out the two ends. Many factory laced shoes do the reverse, with the bottom bar on the outside; either works.
Cross and feed up
Cross the ends over the tongue, pass each one under the edge of the opposite side and bring it up through the next eyelet from underneath. You should see a neat X between the first and second pairs.
Repeat to the top
Keep crossing to the top pair, always passing the same end over the other at each crossing so the pattern looks consistent. Some people alternate which end goes on top, which makes the crossings grip each other and hold tension better.
Straight bar lacing for dress shoes
Straight bar lacing, sometimes called European lacing or simply bar lacing, shows only horizontal bars on the outside, with the vertical runs hidden inside. It looks particularly clean on oxfords, where the two lacing panels close nearly edge to edge. On that narrow gap, criss crosses read as a busy row of Xs, while straight bars look like a quiet ladder that matches the sleek lines of a formal shoe. Our guide to oxford vs derby shoes explains why the oxford's closed lacing gives it a dressier look in the first place.
The same bars also suit plain sneakers, including canvas high tops, when you want a cleaner front than a row of crosses; many people bar lace white leather sneakers for exactly that reason. The method below is for shoes with an even number of eyelet pairs, which covers most dress shoes. Call the two ends A and B.
Bar across the bottom
Run the lace straight across the outside of the bottom pair and push both ends in through the bottom eyelets, so both ends are now inside the shoe. A is on the left, B on the right.
Take A up one eyelet
Inside the shoe, run A straight up to the second eyelet on the left and bring it out. Take it straight across the outside and push it in through the second eyelet on the right. You now have two bars.
Take B up two eyelets
Inside the shoe, run B straight up the right side, skipping the second eyelet, and bring it out through the third. Take it straight across and in through the third eyelet on the left. Three bars, no diagonals visible.
Keep alternating, skipping one each time
From here, each end in turn runs up inside, skips one eyelet, comes out, and crosses straight over. A goes from the second right to the fourth right, then across; B from the third left to the fifth left, then across; and so on.
Finish at the top
For the last two moves, each end runs up inside to the top eyelet on the side it is on and comes out; one of them will only need to climb a single eyelet. The ends now emerge from the top pair on opposite sides, ready to tie, without a final bar. Check that every section on the outside is horizontal. If a diagonal appears, one end has skipped the wrong number of eyelets.
Odd eyelet counts and pressure points
With an odd number of eyelet pairs, straight bar lacing will not come out even: the lace needs an even number of crossings for both ends to meet at the top, so one section would otherwise have to run diagonally on the outside. Ian's Shoelace Site lists several workarounds, such as hiding one short diagonal section inside the shoe. On casual shoes it is often simpler to use criss cross or a similar style that suits the count.
If the top of your foot hurts at one spot, perhaps over a high instep, gap lacing helps. Lace criss cross up to just below the sore area, run both ends straight up the sides to skip one or two pairs, then resume crossing. The gap removes the crossover that was pressing down and lets the shoe open a little more at that point. If the whole shoe feels tight rather than one spot, lacing will not solve it; our guide on how to stretch shoes covers what can be done.
Stop heel slip with a heel lock
Many running shoes have one extra eyelet at the top set slightly back from the others. That hole is there for the heel lock, also called a runner's loop or lock lacing, which pulls the collar snug around your ankle and holds the heel down in the cup.
Lace to the second pair from the top
Use criss cross or any other method up to the eyelets just below the top pair.
Make a small loop on each side
Take each end straight up the outside on its own side and in through the top eyelet, leaving a small loop about the width of a finger.
Cross into the opposite loops
Cross the ends over the tongue and thread each one through the loop on the opposite side.
Pull down and tie
Pull the ends down and outward. The loops close into a small triangle that works like a pulley and snugs the top of the shoe. Tie as usual.
| Method | Best for | How it helps |
|---|---|---|
| Criss cross | Sneakers and everyday shoes | Secure, and the crossings sit in the gap |
| Straight bar | Oxfords and plain sneakers | Clean horizontal bars; needs an even number of eyelet pairs |
| Gap lacing | A sore spot or high instep | Skips the crossing that presses down |
| Heel lock | Heel slip, running shoes | Pulls the collar snug and holds the heel in the cup |
| Ian's Secure Knot | Slippery laces and long days | Takes almost twice the tension to pull undone |
How to tie shoelaces so they stay tied
The ordinary bow has only a few moves. Cross the two ends and tuck one under the other to make the starting knot, then pull it snug. Fold one end into a loop and hold it, wrap the other end around the base of that loop, push the middle of the wrapping end through the gap behind it to form a second loop, and pull both loops outward until the knot tightens. That is the whole sequence most children learn, and it only needs one adjustment to hold properly.
If your laces keep coming undone, look at the finished bow. Ian Fieggen's explanation is that when the loops lie along the shoe, pointing toe to heel, you have tied a granny knot. Both halves of the knot twist the same way, so tension on one part works the other loose. A balanced bow sits across the shoe, with the loops pointing left and right.
The fix is to reverse only the first step. If you normally start by crossing the left end over the right and tucking it under, cross the right over the left instead, then make your bow exactly as before. The finished bow should sit square, and it will hold noticeably better without any extra knotting.
For slippery round laces, sports or long days on your feet, Ian's Secure Knot starts like an ordinary bow, but the two loops are wrapped around each other and both are pushed through the hole in the middle, which doubles the grip at the center. Fieggen reports that it takes almost twice the tension to pull undone as a standard bow, yet like any bow it releases when you pull an end. His site shows it with step by step diagrams, which are easier to follow than any written description.
Common mistakes
Tightening only at the top
Yanking the ends at the last eyelet leaves the forefoot loose and the ankle tight. Snug each section from the bottom up, then tie.
Using a heel lock to fix a bad fit
Lock lacing helps with a little heel movement. Ian Fieggen notes that substantial heel slip usually means the shoe does not fit well. Our guide to how shoes should fit explains what to check, and the shoe size conversion guide helps if you are between sizes or brands.
Double knotting a granny knot
A second knot on top of an unbalanced bow holds for a while but is hard to undo and still loosens. Correct the starting knot first.
Questions people ask
How should dress shoes be laced?
Straight bar lacing is the most common choice for oxfords and other formal shoes because it shows clean horizontal bars. Criss cross is also perfectly acceptable, especially on derbies and the more casual styles in our overview of types of dress shoes. Keep laces flat and in a color that matches the leather, and a pair freshly polished will look its best.
Is it better to lace your shoes tight or loose?
Snug, not tight. The laces should hold your heel down in the back of the shoe and keep your foot from sliding forward, without pressing a ridge into the top of your foot or causing numbness. If you need to pull hard to stop slipping, try a heel lock first; if the shoe still moves, the size or shape is probably wrong.
Are there ways to lace shoes without tying?
Elastic or locking laces turn sneakers into slip ons, which suits running or anyone who finds tying difficult. With ordinary laces, you can lace loosely, tie once, and tuck the ends inside along the tongue, though this only works if the shoe is snug without tension.
How long should my laces be?
Length depends on the number of eyelet pairs, their spacing and the lacing style. The simplest check is to measure the old lace from tip to tip. If you switch to straight bar lacing, allow a little more, since it uses more lace than criss cross.
What are some cool ways to lace shoes?
Ian's Shoelace Site catalogs dozens of decorative styles, such as ladder, lattice and zipper lacing, with diagrams. Most take longer to thread and more lace, so they suit sneakers you enjoy tinkering with more than shoes you put on in a hurry.
Sources and further reading
References used for this guide. Each opens the original page in a new tab.
- Ian's Shoelace Site: straight bar lacing Opens in a new tab
- Ian's Shoelace Site: criss cross lacing Opens in a new tab
- Ian's Shoelace Site: lock lacing Opens in a new tab
- Ian's Shoelace Site: gap lacing Opens in a new tab
- Ian's Shoelace Site: granny knot Opens in a new tab
- Ian's Shoelace Site: Ian's Secure Knot Opens in a new tab
Keep reading
Suits and tailoring
Oxford vs derby shoes: the difference and when to wear each
Oxford vs derby shoes explained: closed and open lacing, which is more formal, which fits a high instep, where brogues and bluchers fit, and what to wear with each.
Shoes and jewelry
How to polish shoes at home, step by step
How to polish leather shoes at home: clean and condition first, use cream for color and wax for shine, buff properly, and keep the shape with shoe trees.
Shoes and jewelry
How to clean white sneakers by material
How to clean white sneakers at home: a gentle method for leather, canvas and mesh, what to do about soles, laces and yellowing, and why the washer is a last resort.
Shoes and jewelry
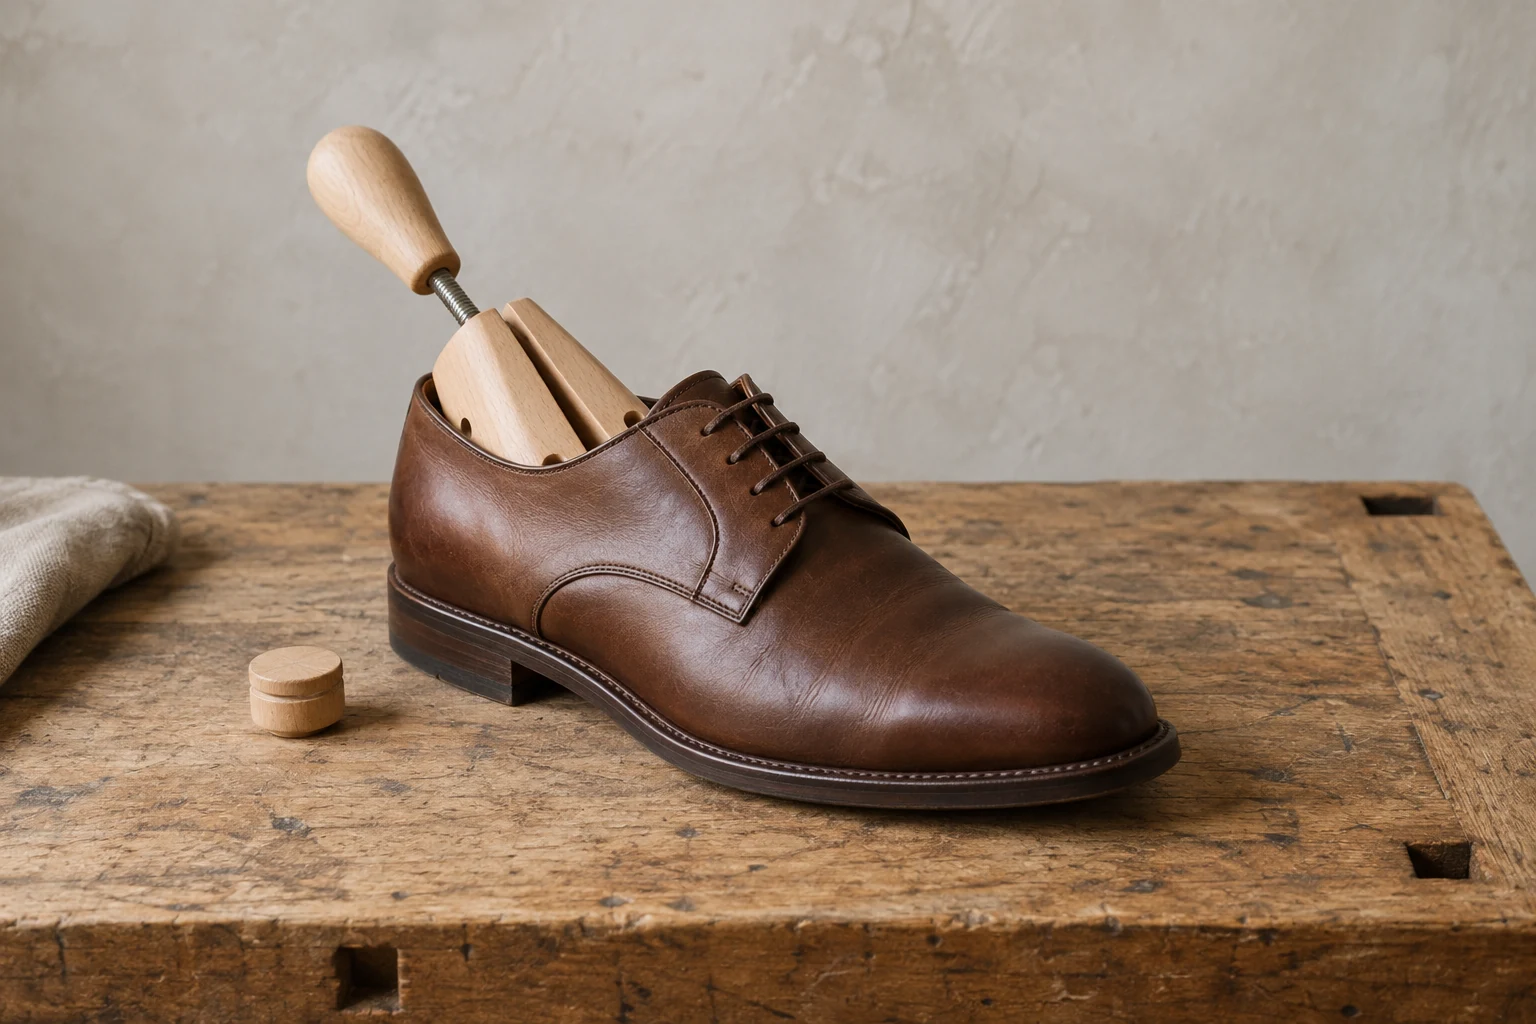
How to stretch shoes that feel too tight
How to stretch shoes that pinch: what leather can and cannot do, using a shoe stretcher and thick socks, the risks of heat and ice, and when to see a cobbler.
Sizing
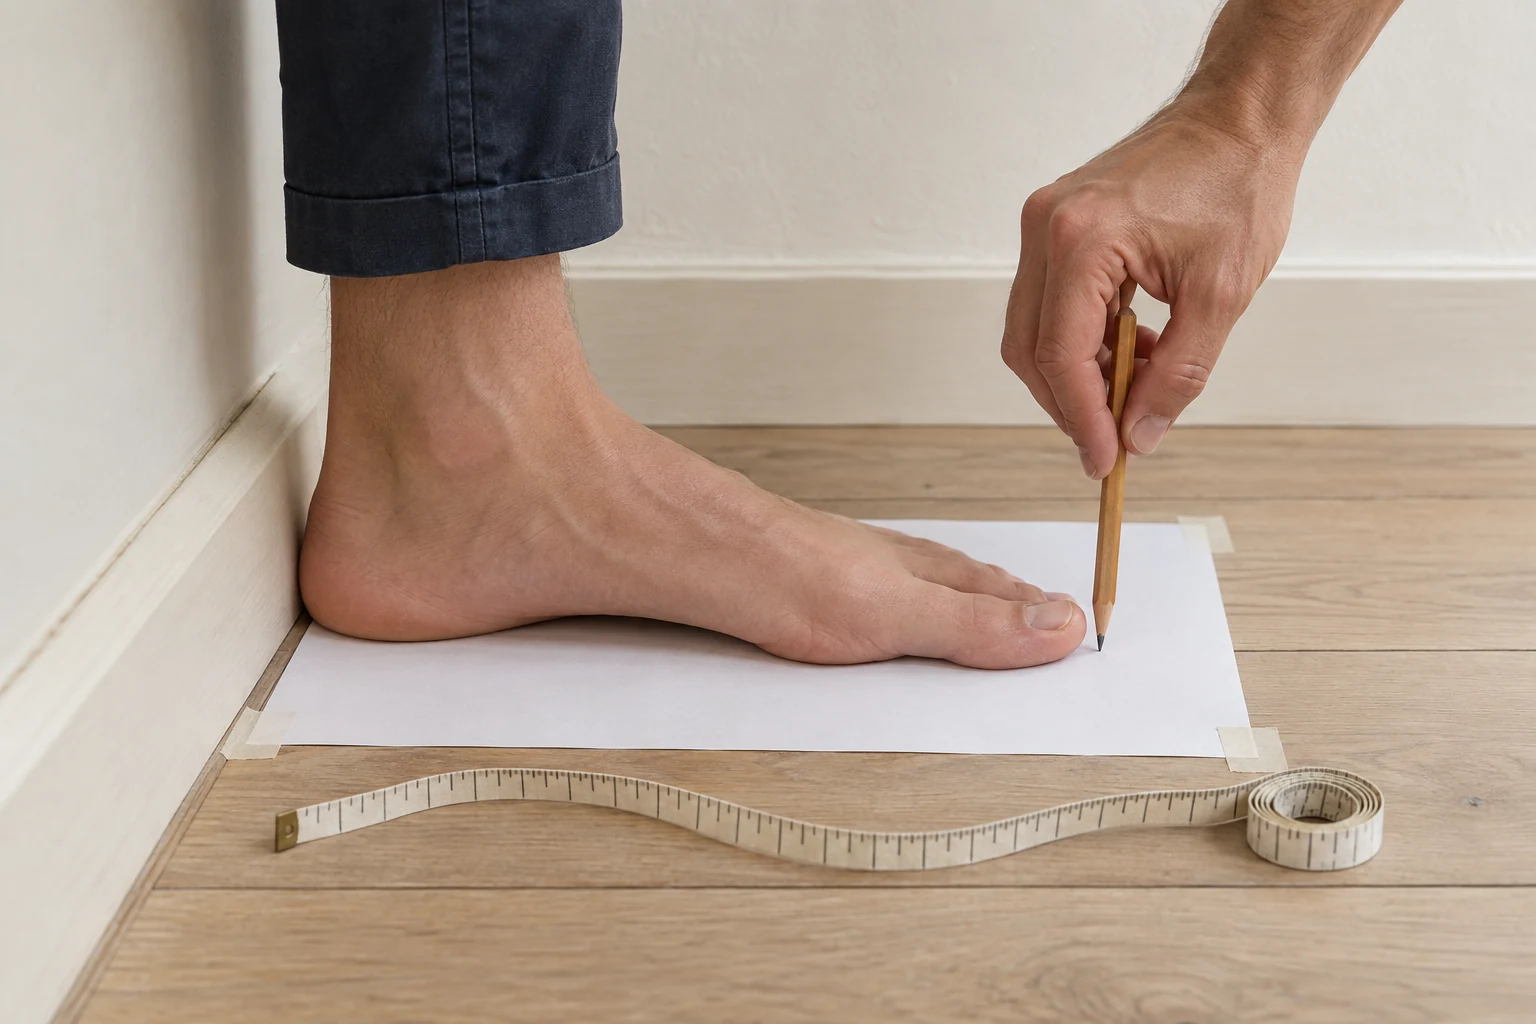
Shoe size conversion: US, UK and EU for men and women
Convert shoe sizes between US men's and women's, UK and EU, see why conversion charts disagree, and measure your foot so you can pick the right size in any brand.