Oriental knot: how to tie the simple knot for thick ties
In this guide
A thick wool or knit tie can fill the collar before you have even finished the knot, and pulling it tighter does not make the fabric disappear. The Oriental knot solves that by doing less. It takes only a few moves, uses very little of the tie, and makes a small, neat knot that lets a heavy fabric look proportionate instead of bulky.
Ties.com lists it as the simple knot, and you may also see it called the Kent knot. Whatever the name, the sequence is the same, and it has one detail that surprises people who know the four in hand: it starts with the tie inside out.
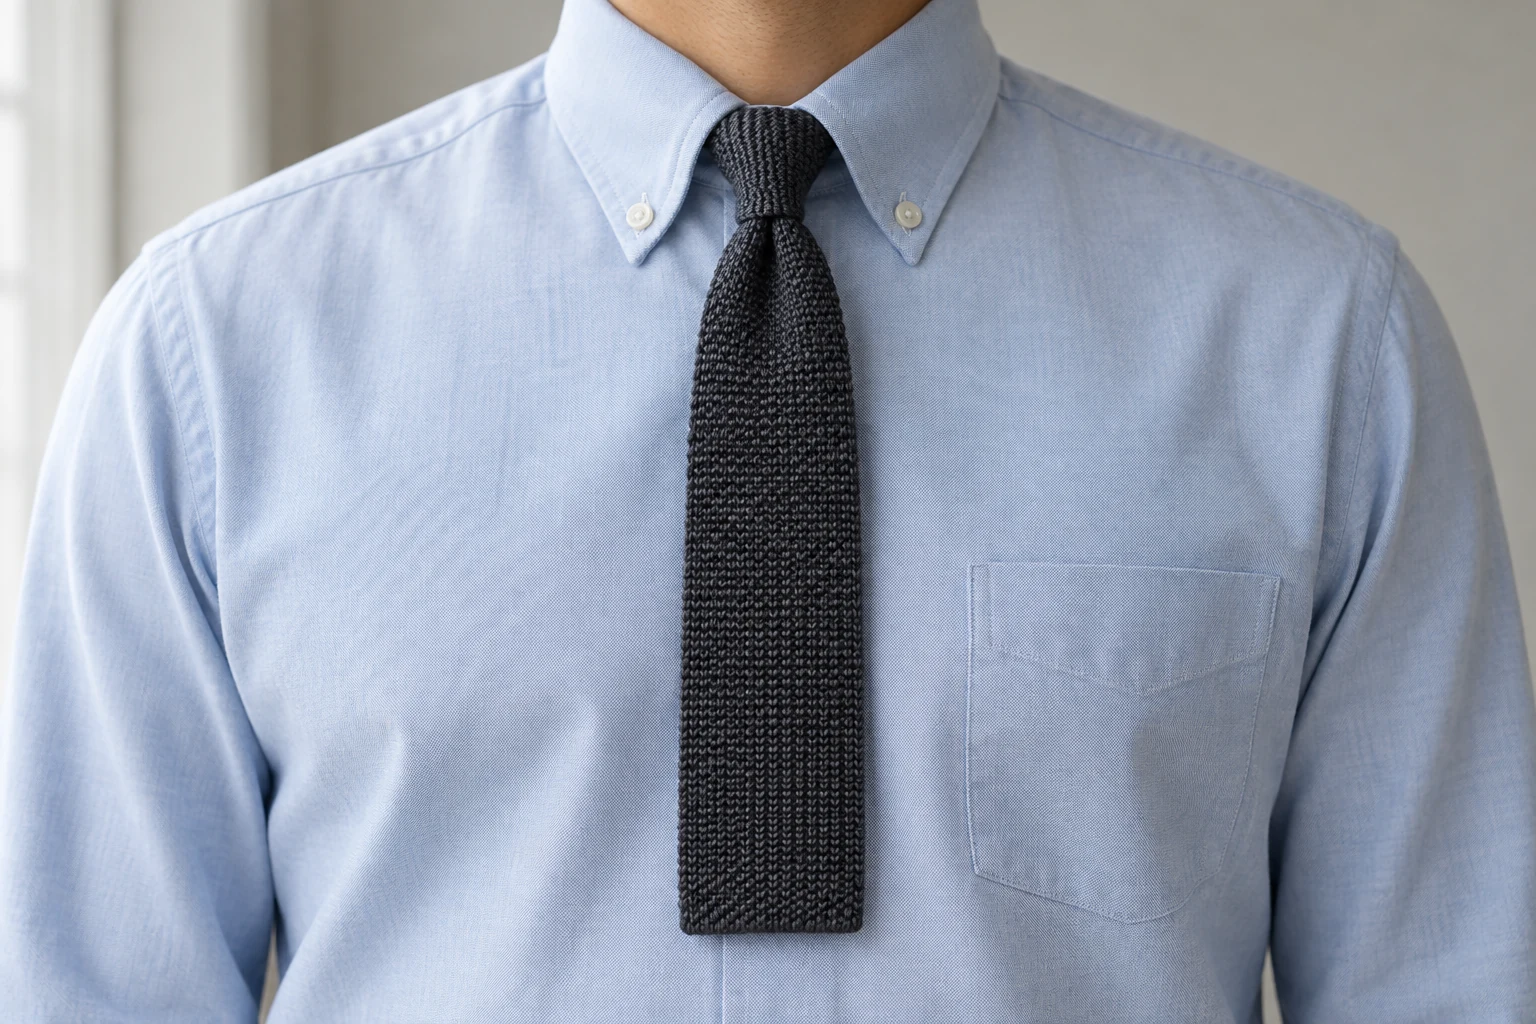
What the Oriental knot looks like
Ties.com gives it the lowest ratings of any common knot for both size and difficulty. It is narrow, leans slightly toward the side of the wide blade, and has a flat front, closer to a small wrapped band than a triangle. Gentleman's Gazette notes that the name reflects its popularity in Asia, while in the West the four in hand knot took the role of the everyday knot. The same source points out that it suited the shorter ties of the 1930s and 1940s, when a knot that saved length was useful.
The trade off is grip. Tie a Tie describes it as a knot that slips easily and needs retightening now and then, and Ties.com notes that it does not release on its own when you pull the narrow end, so it has to be loosened and undone. Neither is a reason to avoid it, but it means the Oriental is best for a tie that has some texture to hold the knot, and for days when you do not mind a glance in a mirror at lunch.
When to wear it: thick, skinny and short ties
The Oriental earns its place with three kinds of tie. Thick ties, such as heavy wool, knits and dense woven silks, make a larger knot than usual, so a small sequence brings them back to a normal size. Skinny ties look best with a small knot too, because a broad knot on a narrow blade looks top heavy. And short ties, or ties on tall men, benefit because the knot uses so little length that more of the blade is left to reach the belt; our guide to how long a tie should be explains where the tip should land.
Collars matter. Tie a Tie recommends narrow spread and button down collars and calls it unsuited to wide spreads, and Gentleman's Gazette agrees that classic and medium spread collars work while wide spread and cutaway collars do not; a tiny knot in a wide collar leaves too much shirt showing. If you are unsure which collar a shirt has, our guide to types of shirt collars shows how to tell. The small size also works well under a collar pin or bar. For a thin silk tie in a spread collar, a Pratt knot or half Windsor fills the space better. The Oriental suits relaxed and everyday settings, and it looks perfectly correct at the office with the right tie.
Start with the back of the tie showing
Button the collar and turn it up. Drape the tie inside out, so the seam and lining face away from your shirt on both hanging ends. The wide end goes on your right and the narrow end on your left. Ties.com suggests the narrow tip slightly above your navel. Because the knot uses so little fabric, you may need to let the narrow end hang an inch or so lower than for a four in hand so the wide tip does not finish too long; adjust after the first try.
Left and right always mean your own hands. In a photo taken from in front of you, your right side appears on the left of the picture, so check your own body at each crossing. The neck loop is the opening between the tie and your collar; the front band is the single horizontal strip across the front of the knot.
How to tie an Oriental knot
Keep the narrow end still and move only the wide end. With so few moves, the only real risk is pulling the front band tight before the final pass, so keep it loose until the end.
Pass the wide end under to your left
Take the wide end behind the narrow end, from your right to your left.
CheckThe blades cross just under the collar with the narrow end in front, both still showing their seams.
Cross the front to your right
Bring the wide end across the front of the narrow end, from your left to your right, and slip a fingertip under this strip.
CheckA horizontal front band now shows the good side of the tie, open under your finger.
Come up through the neck loop
Lift the wide end up from underneath, between your shirt and the knot, and out through the neck loop. Keep the blade flat.
CheckThe wide tip points up at your chin, above the front band.
Go down through the front band
Feed the tip down through the band held open by your finger, withdraw the finger, and draw the blade through.
CheckThe wide blade hangs down the front showing its good side, covering the narrow end.
Tighten and slide it up
Pull the wide end down to gather the layers, then hold the narrow end and slide the knot up to the collar. Fold the collar down.
CheckA small, compact knot sits snug at the top button, leaning slightly, with the seam of the narrow tail showing behind the wide blade.
Fix a knot that slips, twists or runs long
If the wide blade finishes showing its back, you either started with the tie right side out or the blade flipped as it came up through the neck loop. Loosen the knot and check the start; the inside out drape is essential here. If the knot looks lopsided beyond its natural lean, the front band was probably twisted or tighter at one edge. Loosen it, smooth the band flat and tighten again from the wide end.
If the wide tip lands well below your belt, which is common with this knot, start again with the narrow tip an inch or two (3 to 5 cm) lower, so more of the tie goes to the narrow side. Check that the narrow end still finishes above the wide tip. If it would hang below, the tie is simply too long for this knot on you, and a knot with more wraps, such as the Pratt, uses up the extra length. If the wide tip stops short, raise the narrow tip instead. If the knot loosens through the day, snug it up by holding the narrow end and sliding the knot up, or secure the blades with a tie bar as described in where to put a tie clip.
| Problem | Likely cause | Fix |
|---|---|---|
| Wide blade shows its back | Tie started right side out, or the blade flipped | Start again with the tie inside out |
| Lopsided beyond its natural lean | Front band twisted or tighter at one edge | Loosen, smooth the band, tighten from the wide end |
| Wide tip below the belt | Too much length on the wide side | Start with the narrow tip an inch or two lower |
| Wide tip stops short | Too little length on the wide side | Raise the narrow tip |
| Loosens during the day | The knot slips by nature | Slide it up by the narrow end or add a tie bar |
Common mistakes
Starting right side out
With the seam against your shirt, these steps leave the finished blade showing its lining. Start inside out; the wide blade turns face out on its own during the sequence.
Using it in a wide spread collar
A small knot in a wide collar leaves a gap of shirt on each side and looks lost. Save the Oriental for point, button down and moderate spread collars.
Pulling the narrow end to take it off
The Oriental does not fall apart when you pull the narrow end, so pulling only drags the tie through a tight knot and strains the stitching. Drake's advises loosening the knot and undoing it in reverse.
Questions people ask
Is the Oriental knot the same as the simple knot?
Yes. Oriental knot, simple knot and Kent knot are names for the same sequence. Ties.com uses simple knot as its main name and lists the others as alternatives.
What is the smallest tie knot?
Among the common knots, the Oriental is the smallest and uses the least fabric. The four in hand is a little larger and more secure. If you want a small knot that holds better through the day, the four in hand is the alternative.
Is the Oriental knot good for skinny ties?
Yes. A narrow tie looks best with a small knot, and the Oriental keeps the proportions right. It is also a good choice for knit ties, which are thick enough that larger knots look bulky.
Oriental knot vs half Windsor or Windsor: what is the difference?
They sit at opposite ends of the size range. The Oriental is small, leans slightly and uses the least length; the half Windsor is medium and close to symmetrical, and the Windsor is large, fully symmetrical and made for wide spread collars. Use the Oriental for thick, skinny or short ties, and the half Windsor or Windsor when a thin silk tie needs to fill a spread collar.
Is the Oriental knot good for a school tie?
It suits many school ties well, since they are often short and made for small collars, and the Oriental uses little length and stays small. The catch is grip: it tends to loosen over a long, active day. If the tie keeps slipping, a four in hand holds better with only one extra move.
Oriental knot or four in hand: which should I learn first?
Learn the four in hand first, since it works with more ties and holds better. The Oriental is worth adding when you have a thick, skinny or short tie. Our guide to tying a tie for the first time explains how to choose.
Sources and further reading
References used for this guide. Each opens the original page in a new tab.
Keep reading

Ties and knots
Four in hand knot: how to tie the everyday tie knot
Tie a four in hand knot step by step from your own point of view, with a checkpoint after every move, the collars it suits, and fixes for a knot that runs long.
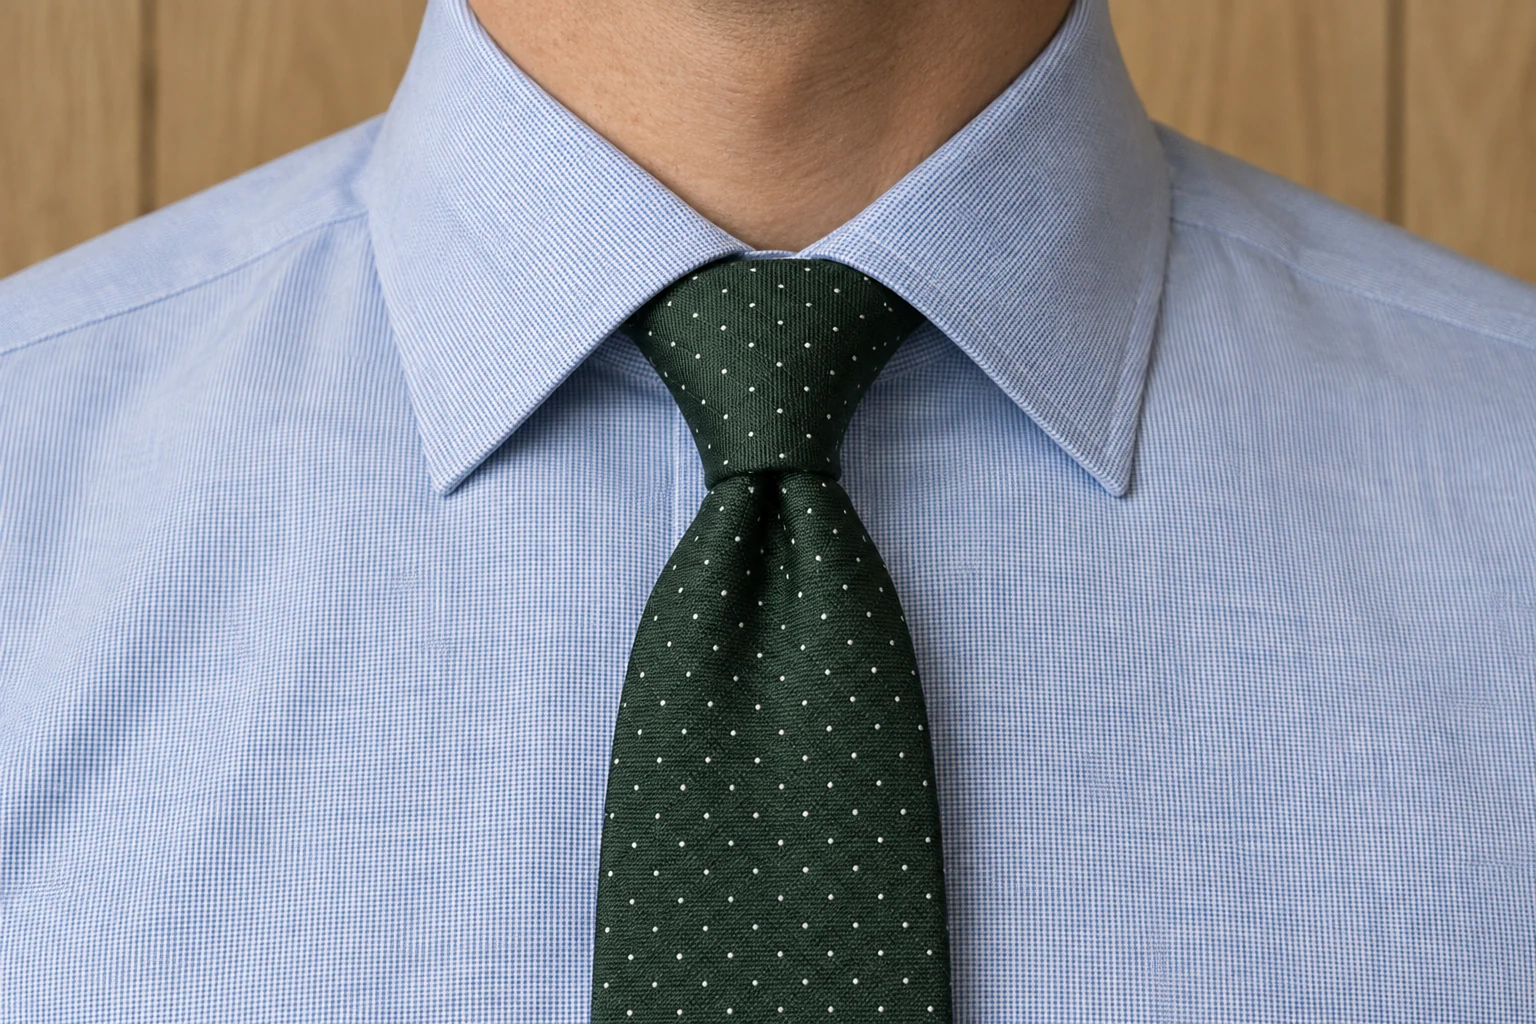
Ties and knots
Pratt knot: how to tie the Shelby knot, step by step
Tie a Pratt knot, also called the Shelby knot, step by step. Learn why it starts inside out, which collars suit it, and how to fix a knot that twists or runs long.
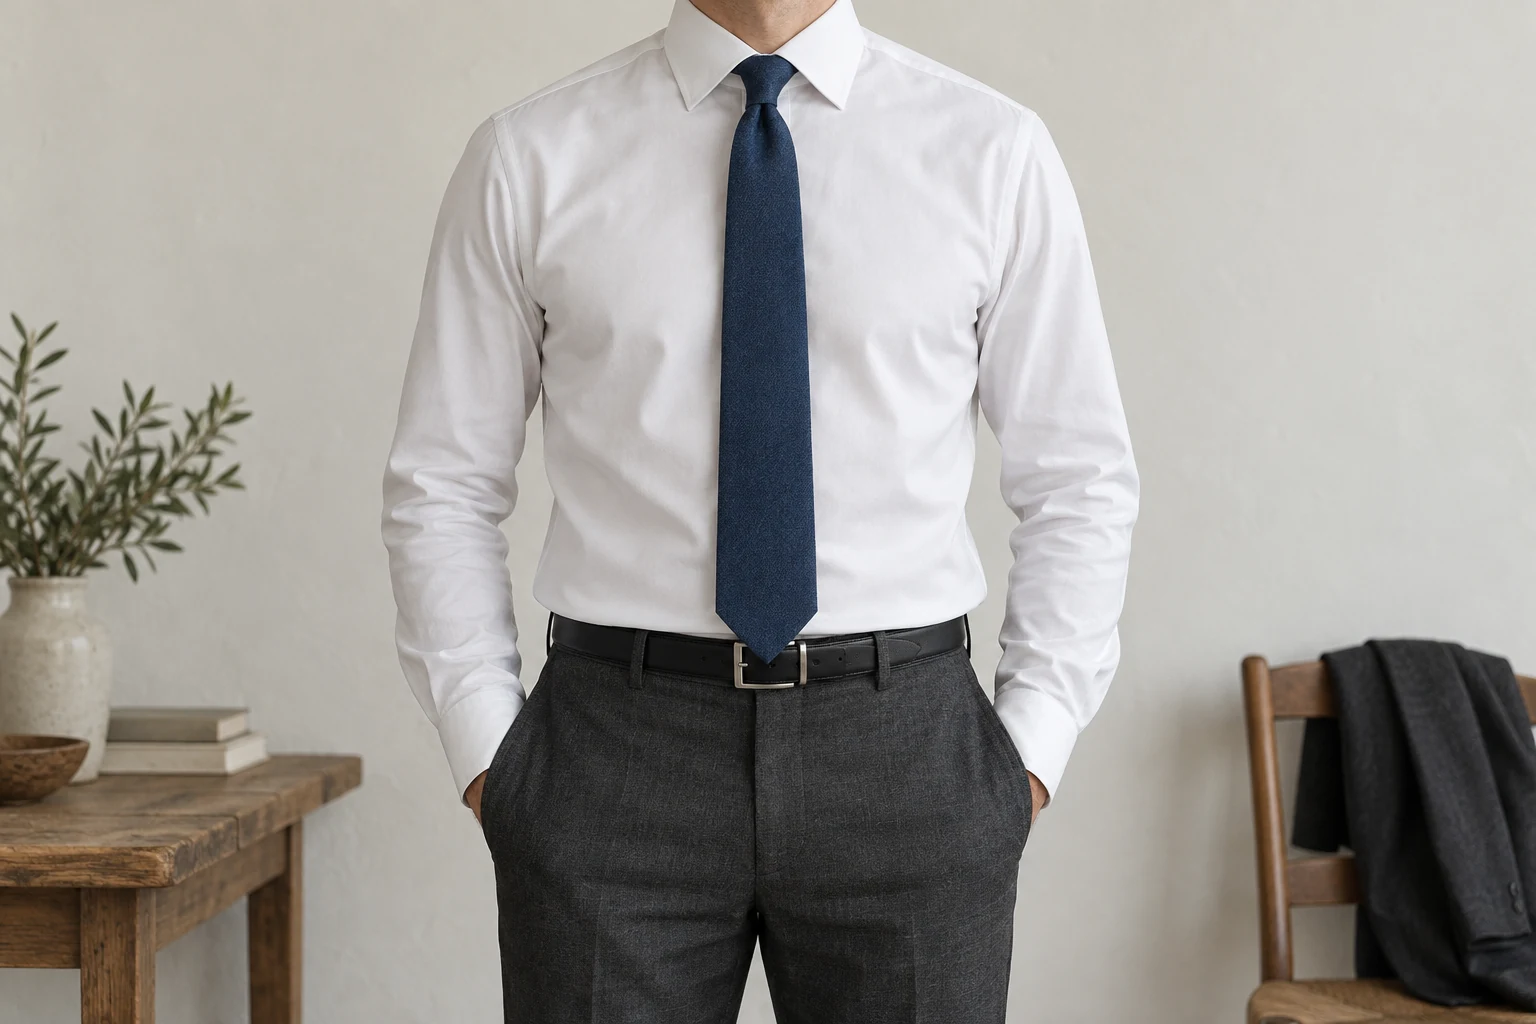
Ties and knots
How long should a tie be, and where should the tip land
How long should a tie be? Where the tip should land, standard and extra long tie lengths, how your knot changes the result, and matching tie width to lapels.
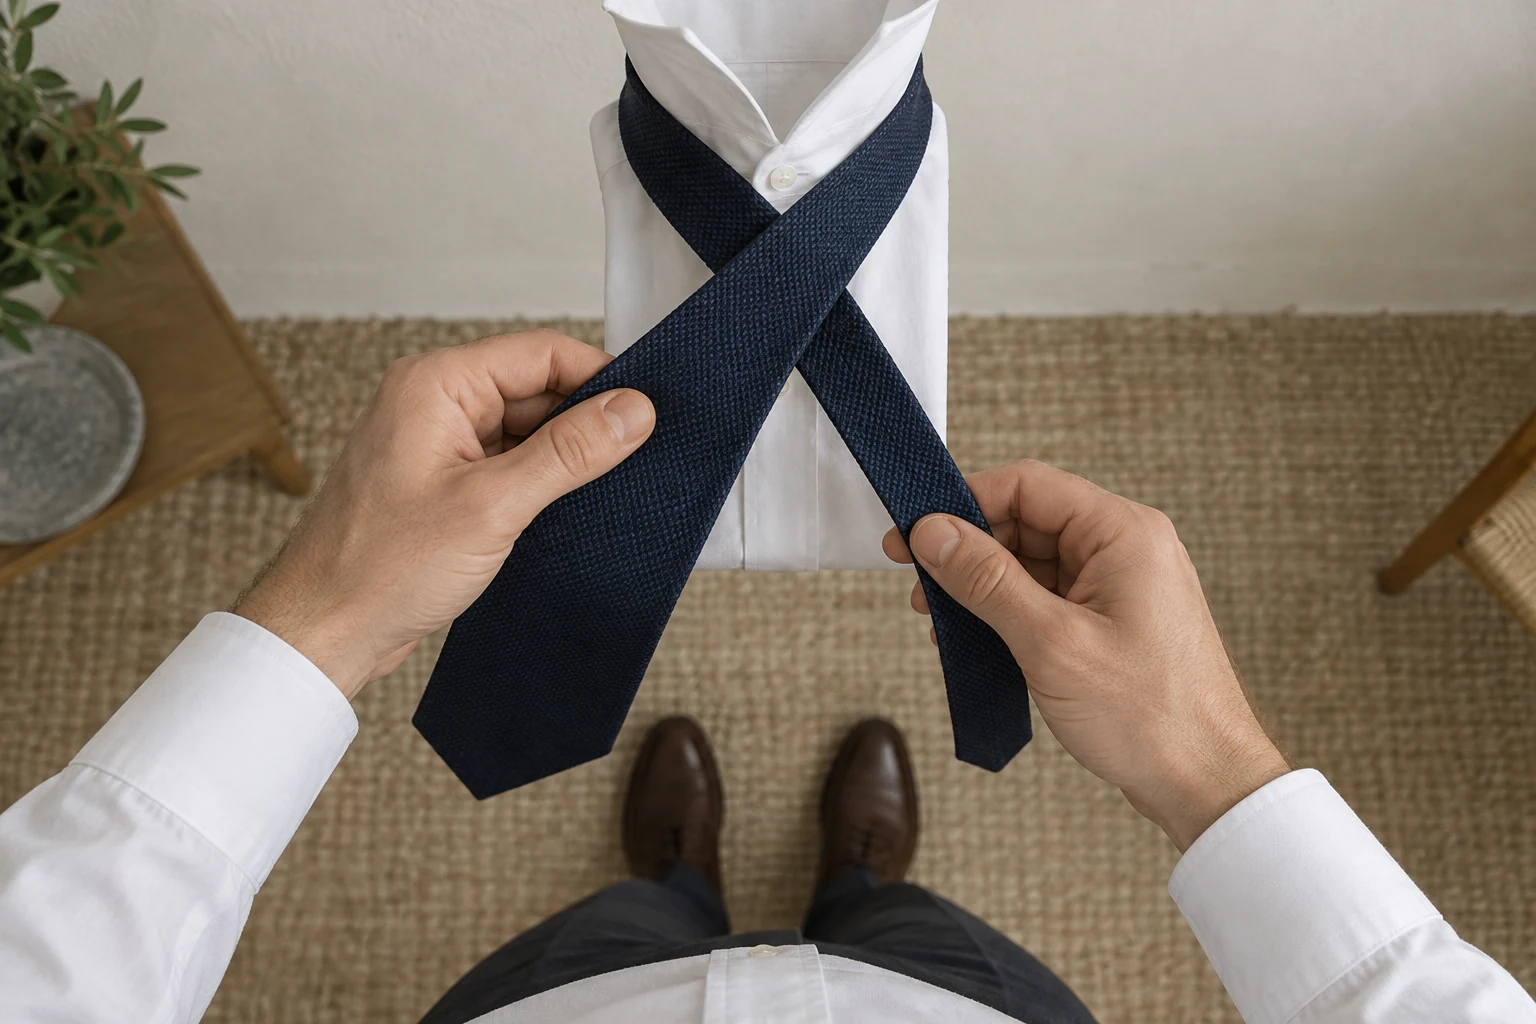
Ties and knots
How to tie a tie: the easiest knot for beginners
Learn how to tie a tie with the four in hand, the easiest dependable knot: six steps from your own point of view, then length, dimple and which knot to try next.

Ties and knots
Half Windsor knot: how to tie it step by step
Tie a half Windsor knot step by step, with checkpoints after each move, the collars and tie fabrics it suits, and fixes for a knot that looks lopsided or bulky.